DervishMoose Guitars
Building Amazing Guitars on the Cheap! 🎸
Your Ultimate Resource for Guitar Building and Upgrading
Hello, guitar enthusiasts! Whether you're a hobby builder crafting your dream guitar or a first-time upgrader looking to enhance your sound, DervishMoose.com is your comprehensive resource. We offer more than just deals; we provide a full suite of resources and a community where you can thrive.
Why DervishMoose.com?
- Comprehensive Resources: From body templates and wiring diagrams to first-time builder kits, our resource section has everything you need to get started or refine your skills.
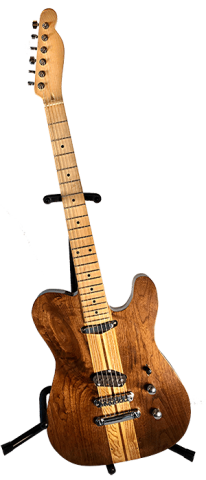
- Inspiration & Tips: Visit our gallery to see current guitar builds or read our blog for expert tips, tricks, and inspiration. Learn from the community and share your own experiences.
- Quality & Affordability: While we do offer curated deals to help you save, our primary focus is on helping you build or upgrade your guitar without compromising on quality.
- Community-Centric: We're not just a website; we're a community of guitar builders and upgraders. As interest grows, we're excited to roll out new features that our community will love. Join our Facebook page for community deals on guitar parts and tools.